
Dairy free whipping cream changed how I make desserts at home. If you’ve been missing that soft, sweet topping on pies or mugs of cocoa, this recipe brings it backcompletely dairy-free and full of joy.
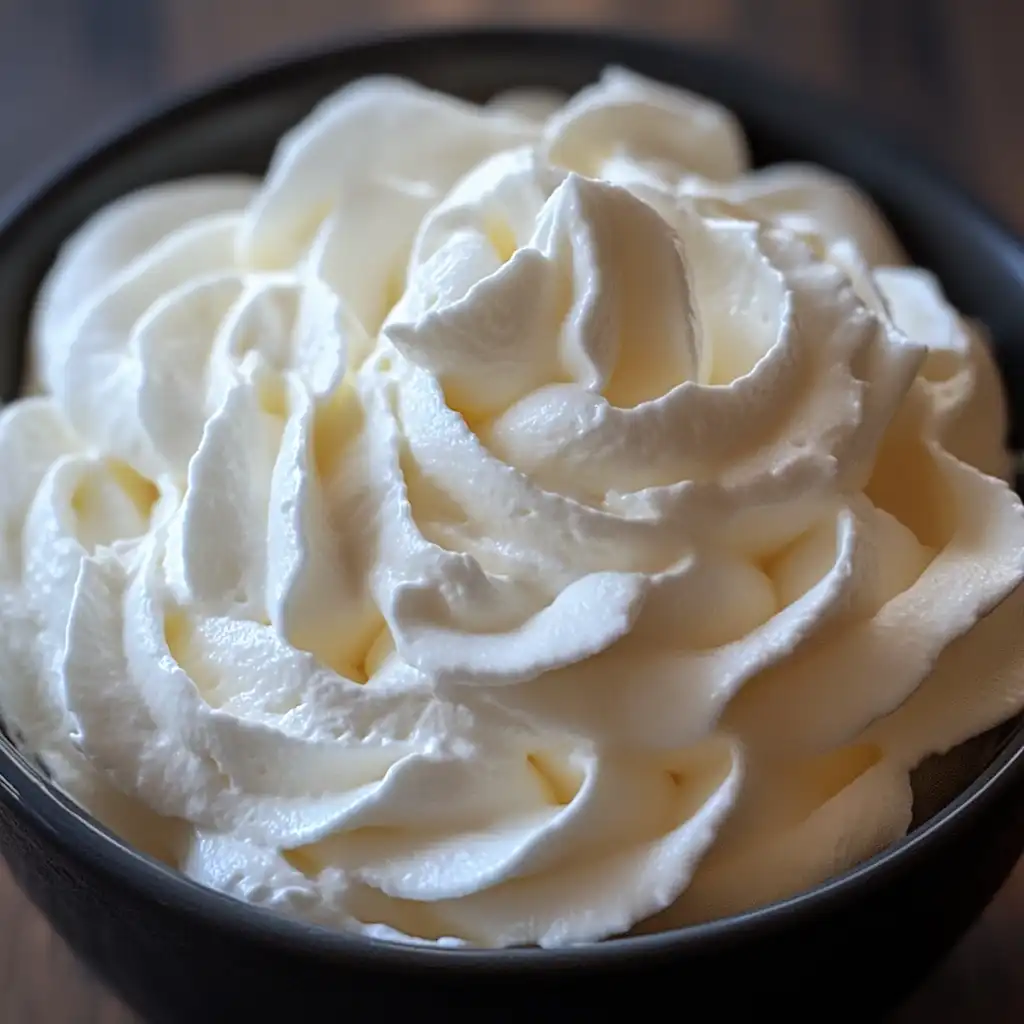
The first time I made this dairy free whipping cream recipe, I couldn’t stop smiling. The cream felt rich, fluffy, and incredibly smooth. It whips quickly, stays stable, and tastes just like the classic version everyone loves.
Spoon it over fruit, swirl it into coffee, or top your favorite cakes and cupcakes. Each bite feels like a little cloud of sweetness. Once you make it yourself, you’ll never buy a store-bought version again.
Why Dairy Free Whipping Cream Will Become Your Family’s Favorite
There’s something special about sharing desserts that everyone at the table can enjoy. That’s exactly what makes dairy free whipping cream so lovable it brings people together without worry or compromise. Whether someone in your family is lactose-intolerant, vegan, or simply prefers plant-based choices, this creamy delight fits right in.
Unlike many store-bought versions, this homemade version tastes fresh, light, and perfectly balanced. It’s the kind of topping that turns an ordinary bowl of berries into something that feels like a celebration. The texture is silky and stable, with just the right amount of sweetness to make every bite feel indulgent.
Kids adore it on pancakes and waffles, while adults sneak a spoonful straight from the mixing bowl (and who could blame them?). The smoothness rivals any traditional whipped cream, proving that a dairy free cream can be just as luscious and satisfying.
Another reason this recipe becomes a family favorite is its simplicity. You don’t need fancy tools or rare ingredients. Everything can be found in most grocery stores, and the process takes only a few minutes from start to finish. It’s ideal for busy mornings, last-minute desserts, or those cozy nights when you just want a comforting treat.
And because it’s made from wholesome, plant-based ingredients, you can enjoy it guilt-free. No heavy cream, no stomach discomfort, just pure creamy happiness in every spoonful. Once your family tastes it, they’ll ask for this lactose free whipping cream again and again. It truly deserves the title of the best dairy free whipped cream for everyday desserts and special occasions alike.
Learn more about how to make fluffy, moist Dairy Free Cupcakes that pair beautifully with this cream. Together, they make an irresistible dairy-free dessert combo everyone will love.
Ingredients You Need
Making dairy free whipping cream at home is surprisingly simple. You only need a handful of ingredients most of which are probably already in your kitchen. Each plays a small but important role in achieving that dreamy, airy texture and perfect sweetness.
The Essential Ingredients for Dairy Free Whipping Cream
Here’s what you’ll need:
1. Full-Fat Coconut Cream (or Coconut Milk)
Choose a can of full-fat coconut cream, not the light version. The thick part that separates on top when chilled is what gives your whipped cream its rich, fluffy body.
If you’re using coconut milk, refrigerate it overnight and scoop out the solid layer before whipping. That chilled, creamy layer is what makes your whip smooth and stable.
2. Powdered Sugar or Maple Sugar
Powdered sugar works beautifully for a light, sweet flavor. You can also use maple sugar for a subtle caramel note that pairs perfectly with fruit or baked goods.
Avoid granulated sugar it won’t dissolve as smoothly and can leave a slightly grainy texture.
3. Vanilla Extract (Optional but Lovely)
A few drops of vanilla add warmth and balance to the coconut flavor. It makes your whipped cream taste like a bakery treat familiar, cozy, and just a little fancy.
If you’re making flavored versions, you can swap vanilla for almond, peppermint, or orange extract depending on the dessert.
4. Stabilizer (Optional: Arrowroot Powder or Cornstarch)
If you want the cream to hold its shape longer especially for frosting or piping add a small pinch of arrowroot powder or cornstarch.
This step helps keep the texture firm and glossy. It’s especially helpful when serving outdoors or in warmer kitchens, since it prevents the cream from softening too quickly.
5. A Pinch of Salt
A tiny pinch enhances the flavor and balances the sweetness. It may seem optional, but it adds depth and makes the whipped cream taste more complete.
Ingredient Notes & Substitutions
Now that you know the basics, here are a few variations and helpful swaps you can try:
- For a nut-based version: Use cashew cream instead of coconut for a subtly nutty flavor and creamy texture.
- For a lighter option: Try chilled oat or soy cream, though the peaks won’t be quite as stiff.
- For extra flavor: Fold in a touch of cocoa powder or cinnamon for a cozy, seasonal twist.
Bringing It All Together
These simple ingredients come together to create the softest, most luscious dairy free cream you’ve ever tasted. And the best part? You can control the sweetness, stability, and texture exactly how you like it every time.
check out this smooth and tangy Dairy Free Cream Cheese Frosting it’s another easy, plant-based favorite that spreads perfectly on cakes and cupcakes.
How to Make Dairy Free Whipping Cream Step-by-Step
Making your own dairy free whipping cream is easier than you might imagine. With just a few simple steps, you’ll have a bowl of smooth, fluffy, and perfectly sweet cream that’s ready to top your favorite desserts.
Step 1: Chill Your Tools and Ingredients
Start by chilling your mixing bowl and beaters in the freezer for at least 15 minutes. Cold equipment helps the cream whip faster and hold its structure better.
If you’re using canned coconut milk, refrigerate it overnight. This allows the cream to separate from the liquid, making it easier to scoop out the thick, rich part you’ll be whipping.
Step 2: Scoop and Prepare the Coconut Cream
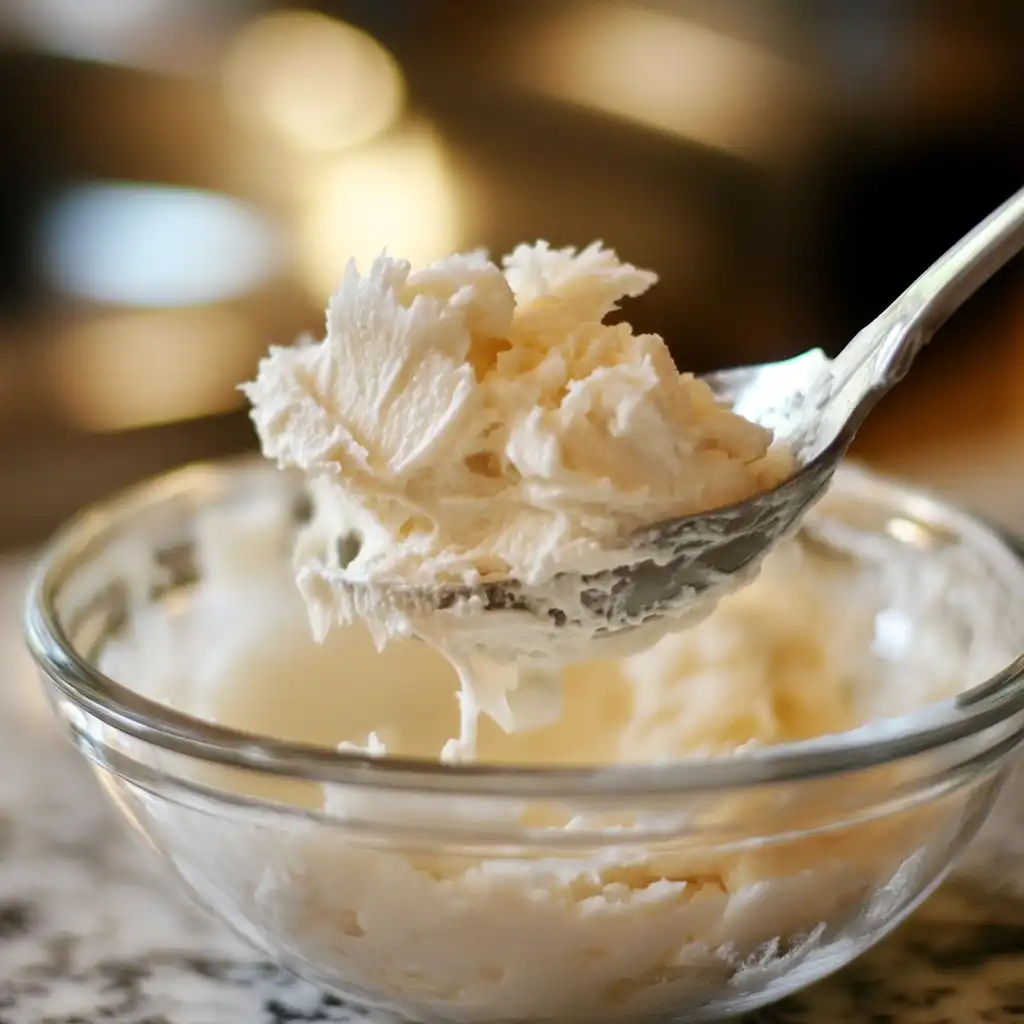
Once chilled, open your can and carefully spoon out the solid layer of coconut cream into your cold mixing bowl. Save the remaining liquid for smoothies or soups it’s packed with flavor and shouldn’t go to waste.
At this stage, make sure the cream feels firm but scoopable. If it’s too hard, let it sit at room temperature for 2–3 minutes before whipping.
Step 3: Start Whipping Slowly
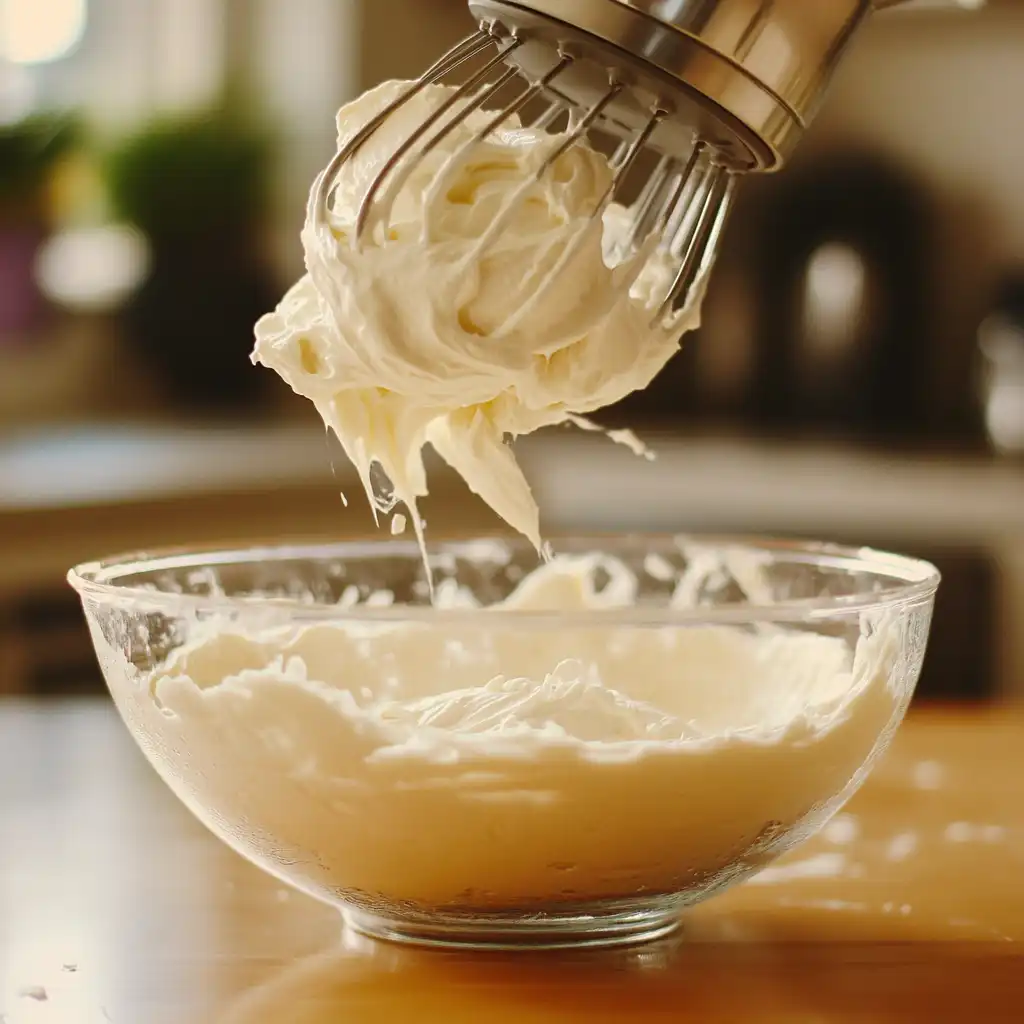
Begin whipping on low speed for 30–45 seconds. This helps break up the solid cream without splattering. Then, gradually increase to medium-high speed.
You’ll notice the texture changing first it will look grainy, then smooth, and finally fluffy. Keep going until soft peaks begin to form.
Step 4: Add Sweetener and Flavor
Once you reach soft peaks, add your powdered sugar (or maple sugar) and a few drops of vanilla extract. Continue whipping until the sugar dissolves and the cream becomes light and airy.
If you’d like extra stability, add a pinch of arrowroot powder or cornstarch now. This helps the whipped cream stay firm longer especially helpful if you plan to use it for frosting or layered desserts.
Step 5: Watch for the Perfect Peaks
You’ll know your cream is ready when it forms soft, stable peaks that hold their shape on the whisk. Don’t over-whip that can cause the fat to separate and turn the cream grainy.
If this happens, don’t worry! Simply fold in a teaspoon of the reserved coconut liquid to bring it back to a smooth consistency.
Step 6: Serve and Store
Your dairy free whipping cream is now ready to use! Spoon it over fruit, layer it between cakes, or top your morning coffee for a decadent touch.
To store, transfer it to an airtight container and refrigerate for up to three days. It may firm up as it chills, but you can easily re-whip it for 10–15 seconds before serving.
Pro Tips for the Best Dairy Free Whipped Cream
- Stabilize for Warm Weather: Add a teaspoon of melted coconut oil to help the cream hold its shape in humidity.
- Flavored Variations: Mix in cocoa powder, espresso, or cinnamon for a unique twist.
- Sugar-Free Version: Use powdered erythritol or monk fruit sweetener instead of sugar.
- Make Ahead Tip: Chill the whipped cream overnight it becomes even fluffier the next day!
The Final Touch
This simple process creates a soft, rich, and perfectly balanced whipped cream one that’s completely dairy free but tastes just as luxurious as the real thing. Whether you’re making desserts for family or guests, it’s sure to become your go-to topping for every sweet occasion.
Want to take your desserts up a notch? You might also like my rich Dairy Free Chocolate Frosting Recipe it’s creamy, chocolatey, and makes the perfect contrast to this light, coconut-based whipped cream.
Frequently Asked Questions About Dairy Free Whipping Cream
Yes! You can easily make a dairy free version of heavy whipping cream at home. The best base is full-fat coconut cream, which has the perfect fat content for whipping. You can also use soy cream or cashew cream for a lighter option. These plant-based alternatives whip up beautifully and taste just as rich as traditional heavy cream.
Absolutely. There are several non-dairy whip cream options available, including store-bought brands made from coconut, almond, or oat bases. However, homemade versions usually taste fresher, contain fewer additives, and are more customizable. This dairy free whipping cream recipe is one of the easiest and most reliable ways to make it at home.
Reddi Whip does offer non-dairy options! They have versions made with coconut milk and almond milk, both of which are dairy free. However, not all Reddi Whip varieties are vegan so always check the label before buying. If you want a guaranteed vegan option, making your own at home is the best way to go.
There are several substitutes for traditional whipping cream. The best dairy free alternatives include:
Full-fat coconut cream (best for whipping)
Cashew cream (creamy and mild)
Silken tofu blended with soy milk (great for cooking or baking)
Oat or soy cream (lighter options for topping)
Each one provides a slightly different texture and flavor, so you can choose based on your recipe and preference.
Part 6: Let Me Know If You Fall in Love…
There’s something so special about making dairy free whipping cream from scratch. It’s simple, quick, and absolutely satisfying proof that you don’t need dairy to enjoy that light, creamy texture we all love.
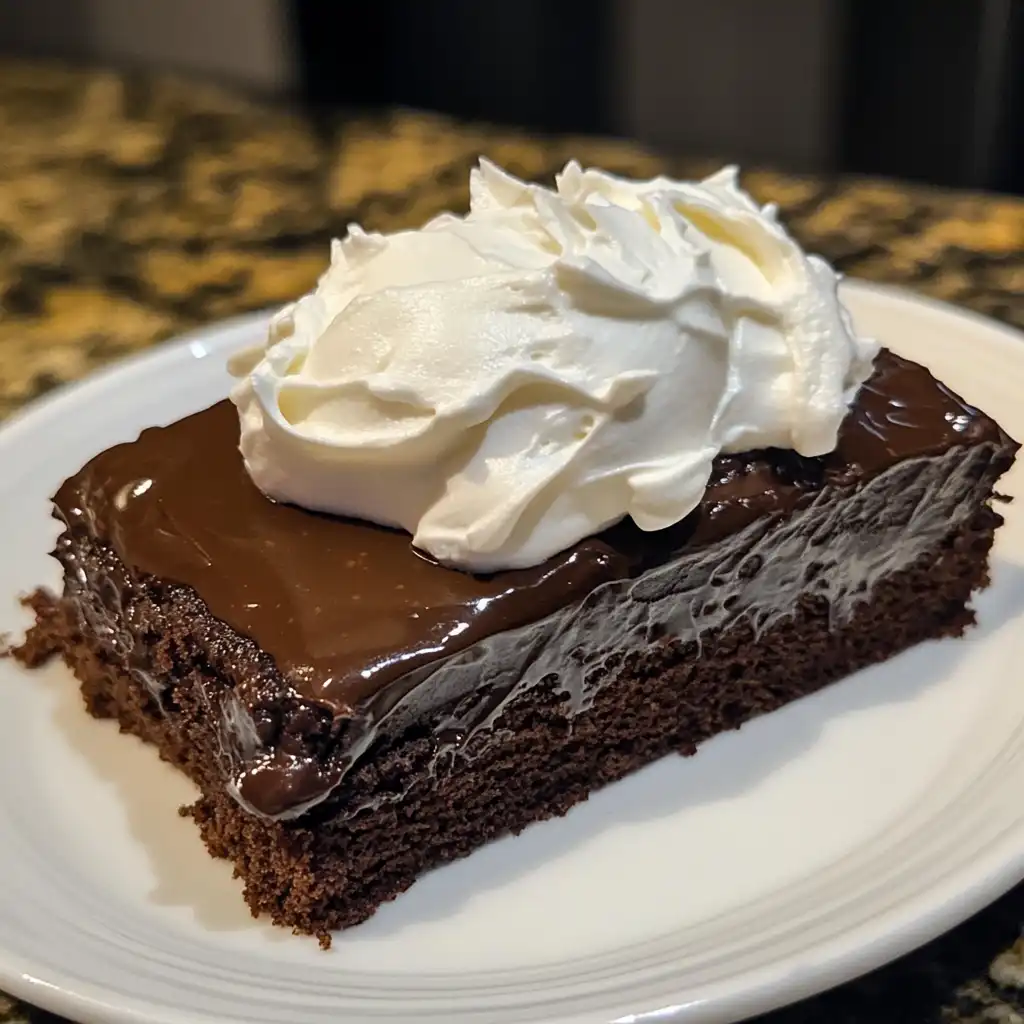
Every time I make it, I’m reminded of how easy it is to bring a little extra joy to the table. Whether you’re topping a homemade cake, spooning it over fruit, or swirling it into coffee, this dairy free cream always adds a touch of comfort and sweetness.
If you try this recipe, I’d love to know how it turned out for you! Did you experiment with flavors or serve it with a special dessert? Leave a comment or tag me on Pinterest I can’t wait to see your creations.
Because once you’ve tasted the soft, fluffy magic of homemade dairy free whipping cream, you might never reach for store-bought again.
If you got here, you are important to us. Don’t forget to follow us on Pinterest.
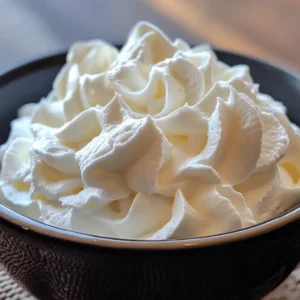
Dairy Free Whipping Cream Recipe
Equipment
- Mixing Bowl Chill before using for best results
- Hand Mixer or Stand Mixer For quick and stable whipping
- spatula To scrape the sides and fold the cream
- Measuring spoons For sugar and stabilizer
- Airtight container For storing leftover whipped cream
Ingredients
- 1 can (14 oz) Full-fat coconut cream Chill overnight; use only the solid part
- 2 tbsp Powdered sugar Add more or less to taste
- 1 tsp Vanilla extract Optional, adds warmth and flavor
- 1 pinch Arrowroot powder or cornstarch Optional, for stability
- 1 pinch Salt Balances sweetness
Instructions
- Chill your mixing bowl and beaters in the freezer for 10–15 minutes.
- Scoop the solid layer of coconut cream into the chilled bowl.
- Beat on low speed, then increase to medium-high until the cream thickens and forms soft peaks.
- Add powdered sugar and vanilla. Continue whipping until smooth and fluffy.
- If needed, mix in arrowroot powder or cornstarch to stabilize.
- Add a small pinch of salt to balance flavor.
- Serve immediately, or refrigerate for up to 3 days. Re-whip before serving if needed.