
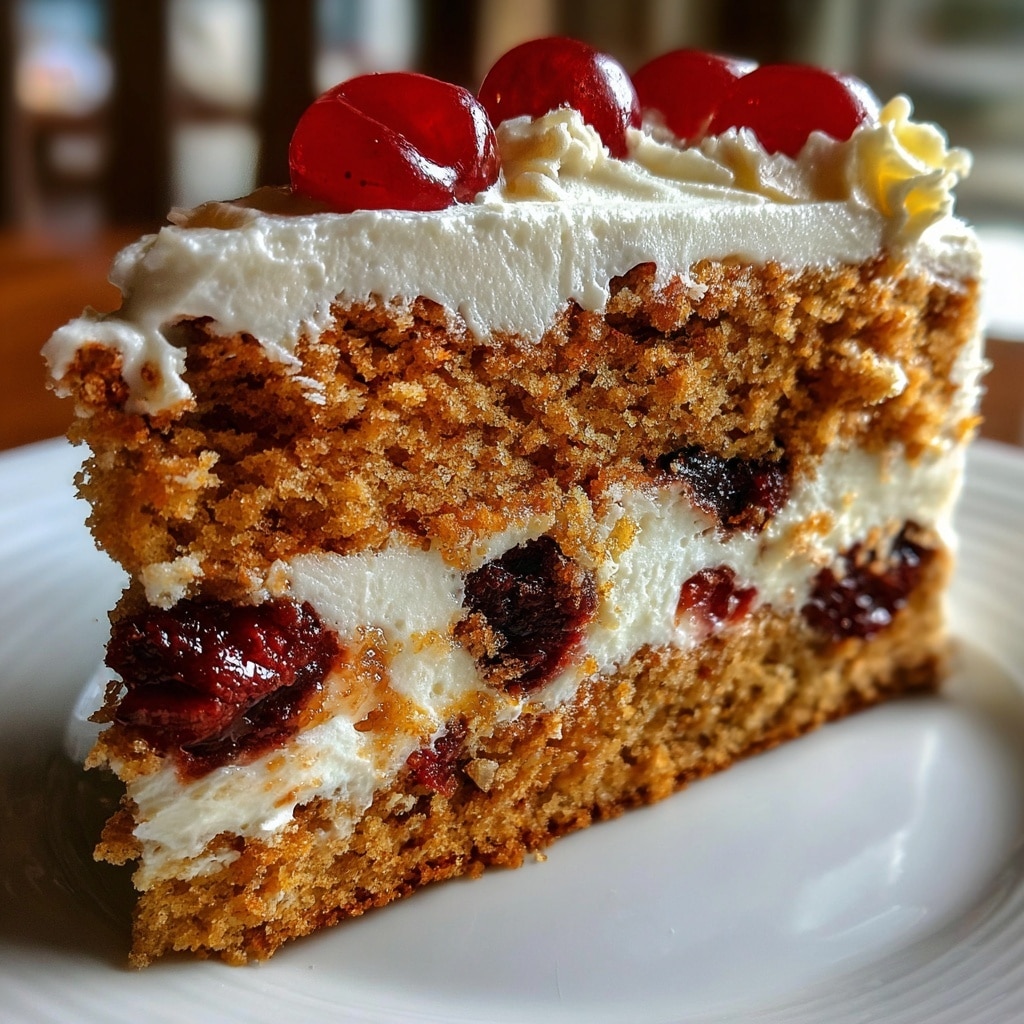
There’s something utterly delightful about stepping into a kitchen filled with the mouthwatering aroma of a fresh-baked cake. When that cake is a Homemade Cherry Chip Cake, the warmth of nostalgia envelops you like a cozy blanket on a cold day. This cake is the embodiment of comfort, joy, and simplicity.
With each bite, you’re met with a burst of sweet cherries and rich chocolate chips, making every moment spent enjoying it one to remember. Whether it’s for a family gathering, a cozy afternoon tea, or just a little indulgence for yourself, this Homemade Cherry Chip Cake ticks all the boxes. It’s not just a dessert; it’s an experience, and I can’t wait to share it with you!
What makes the Homemade Cherry Chip Cake so irresistible? First, it’s approachable. You don’t need to be a baking whiz to pull off this simple yet impressive cake.
The ingredients are easy to find, and the steps are straightforward, allowing anyone, even the busiest of home cooks, to whip it up with confidence. Second, it’s comforting. Each slice evokes memories of family celebrations and simple joys, laced together with the harmony of cherry and chocolate.
These flavors are a match made in heaven! Plus, this cake is flavor-packed. The juicy cherries and melty chocolate chips dance together, creating a delightful symphony for your taste buds.
On those bustling days when you’re juggling chores, work, and family, this Homemade Cherry Chip Cake shines brilliantly. It requires minimal fuss, so you won’t feel overwhelmed. Just mix, bake, and enjoy! And remember, nothing beats a homemade treat waiting for you at home, offering a slice of happiness after a hectic day.
Every bite of this cake not only satisfies your sweet tooth but brings smiles to the faces of those you love. So, let’s roll up our sleeves and get baking. Here’s how you can create your very own Homemade Cherry Chip Cake!
Ingredients You’ll Need
Before we get started, let’s gather everything we need to make this delightful Homemade Cherry Chip Cake. The ingredients are simple and accessible, ensuring that you can whip this cake up with ease.
| Ingredients | Measurements |
|---|---|
| All-purpose flour | 2 cups |
| Sugar | 1 ½ cups |
| Baking powder | 2 teaspoons |
| Salt | ½ teaspoon |
| Milk | 1 cup |
| Vegetable oil | ½ cup |
| Eggs | 3 large |
| Vanilla extract | 1 teaspoon |
| Cherry pie filling | 1 can (21 ounces) |
| Chocolate chips | 1 cup |
Substitutions & Variations
One of the best parts about the Homemade Cherry Chip Cake is its versatility. If you find yourself missing an ingredient, or if you want to switch things up a bit, I’ve got you covered with some great substitutions and variations.
For a healthier twist, you can use whole wheat flour instead of all-purpose flour. This will give the cake a nutty flavor along with added fiber. If you are looking for a gluten-free option, consider using a 1:1 gluten-free baking flour blend. It’s an easy swap that maintains the cake’s delightful texture.
If you want to incorporate some global flair, add almond extract instead of vanilla for a hint of marzipan-like flavor. You can also mix in some chopped nuts, such as Pecans or Walnuts, to add a crunch element.
For a dairy-free version, swap the milk for almond or oat milk, and select dairy-free chocolate chips. This will keep your cake dairy-free without sacrificing any of the deliciousness. Additionally, if cherries aren’t available, you could substitute with raspberries or blueberries, keeping the essence of a berry cake intact.
Step-by-Step Instructions
Let’s dive into the process of creating your Homemade Cherry Chip Cake. Follow these steps carefully, and you’ll be met with a fragrant, flavorful creation!
- Preheat Your Oven: Start by preheating your oven to 350°F (175°C). This ensures your cake bakes evenly and beautifully right from the start.
- Prepare Your Pan: Grease and flour a 9×13-inch baking pan or line it with parchment paper. This helps your cake release easily after baking.
- Mix the Dry Ingredients: In a large bowl, whisk together the flour, sugar, baking powder, and salt. This blends everything and adds a delightful airiness to your cake.
- Combine Wet Ingredients: In another bowl, whisk together the milk, vegetable oil, eggs, and vanilla extract. Ensure these have a good mix so that the batter comes together seamlessly.
- Bring It Together: Gradually add the wet ingredients into the dry ingredients, stirring gently. You don’t want to over-mix; a few lumps are perfectly fine!
- Add the Goodness: Fold in the cherry pie filling and chocolate chips. This step introduces that beautiful burst of flavor in each bite.
- Pour Into Pan: Transfer the batter into your prepared pan, smoothing it out evenly. It should look inviting already!
- Bake to Perfection: Place your cake in the oven and bake for 30-35 minutes. Keep an eye on it and do the toothpick test – it should come out clean when the cake is done.
- Cool Down: Once baked, take the cake out and let it cool in the pan for about 10 minutes. Then, transfer it to a wire rack to cool completely.
- Slice and Serve: Once your Homemade Cherry Chip Cake is cool, slice it into squares and serve it with a sprinkle of powdered sugar or a dollop of whipped cream for that extra touch.
As you prepare to create your Homemade Cherry Chip Cake, consider exploring other delicious treats. Our Banana Donuts – The Ultimate Guide to Irresistible Homemade Treats offers a fantastic companion recipe for your baking adventures.
Pro Tips for Success
Here are some tips I’ve gathered over the years to ensure your Homemade Cherry Chip Cake comes out perfectly every time:
- Room Temperature Ingredients: Make sure your eggs and milk are at room temperature. This helps them combine more smoothly into your batter.
- Don’t Overmix: Mixing too much can result in a dense cake. Stir until just combined for the best texture.
- Fresh or Frozen Cherries: If fresh cherries are in season, you can replace the pie filling with about 2 cups of pitted and chopped cherries for a fresh twist!
- Quality Chocolate: Use high-quality chocolate chips for better flavor. They make a noticeable difference in your cake!
- Cool Completely: Allow the cake to cool completely before slicing to ensure clean edges and a perfect slice.
- Store Properly: If you have leftovers (which is rare!), make sure to store them in an airtight container to maintain freshness.
Storage & Reheating Tips
To keep your Homemade Cherry Chip Cake delicious for days, make sure to store it properly. Place any leftover slices in an airtight container at room temperature for up to three days. If you’d like to keep it longer, refrigerate it, where it can last for about a week.
If you want to freeze it, wrap individual slices tightly in plastic wrap and then place them in a freezer-safe bag. Your cake can be frozen for up to three months. Whenever you’re ready to indulge, simply thaw it in the fridge overnight, then warm it slightly in the microwave without losing any deliciousness!
After enjoying every slice of your Homemade Cherry Chip Cake, make sure to keep it fresh and tasty. For an alternative delicious dessert, check out our Eggless Banana Cake – A Moist, Fluffy, and Simple Homemade Classic for your next baking project.
What to Serve With This Recipe
Pairing the Homemade Cherry Chip Cake with the right sides elevates your dessert experience. Here are some delightful suggestions:
- Vanilla Ice Cream: The creaminess of vanilla ice cream complements the tart cherries perfectly, making for a delightful contrast.
- Fresh Berries: A bowl of fresh berries adds a refreshing brightness and a bit of acidity, balancing the sweetness of the cake.
- Coffee or Tea: Serve this cake alongside a cup of your favorite coffee or tea. The warm beverage perfectly complements the flavors.
- Whipped Cream: Top your slice with a dollop of whipped cream for rich creaminess that takes every bite to the next level.
FAQs
Can I use fresh cherries instead of cherry pie filling?
Absolutely! Fresh cherries can be used. Just pit and chop them, measuring about 2 cups, to keep the flavor vibrant and fresh.
How can I make this cake more chocolatey?
If you’d like an extra chocolatey kick, add an additional half cup of chocolate chips to the batter, or drizzle melted chocolate on top as a finishing touch.
Can I make this cake ahead of time?
Yes! You can bake the Homemade Cherry Chip Cake a day in advance. Just make sure it’s stored properly, and it will taste just as wonderful the next day!
Is this cake suitable for special dietary requirements?
Definitely! With a few simple swaps, you can make this cake gluten-free or dairy-free. Check the substitutions section for ideas!
Homemade cakes are a timeless tradition that evokes comfort and joy, contributing to family gatherings and celebrations. Many enjoy experimenting with flavors, such as the delightful combination of cherries and chocolate in this cake, which is similar to other popular baked goods like traditional cakes.
Nutrition Information (per serving)
| Nutrient | Amount |
|---|---|
| Calories | 250 |
| Protein | 4g |
| Carbohydrates | 36g |
| Fat | 10g |
| Sugar | 20g |
| Fiber | 1g |
| Sodium | 210mg |

Homemade Cherry Chip Cake
Ingredients
- 2 cups all-purpose flour
- 1 ½ cups sugar
- 2 teaspoons baking powder
- ½ teaspoon salt
- 1 cup milk
- ½ cup vegetable oil
- 3 large eggs
- 1 teaspoon vanilla extract
- 1 can (21 ounces) cherry pie filling
- 1 cup chocolate chips
Instructions
- Preheat your oven to 350°F (175°C).
- Grease and flour a 9x13-inch baking pan or line it with parchment paper.
- In a large bowl, whisk together the flour, sugar, baking powder, and salt.
- In another bowl, whisk together the milk, vegetable oil, eggs, and vanilla extract.
- Gradually add the wet ingredients into the dry ingredients, stirring gently.
- Fold in the cherry pie filling and chocolate chips.
- Transfer the batter into your prepared pan, smoothing it out evenly.
- Bake for 30-35 minutes or until a toothpick comes out clean.
- Let the cake cool in the pan for about 10 minutes, then transfer to a wire rack to cool completely.
- Slice into squares and serve.